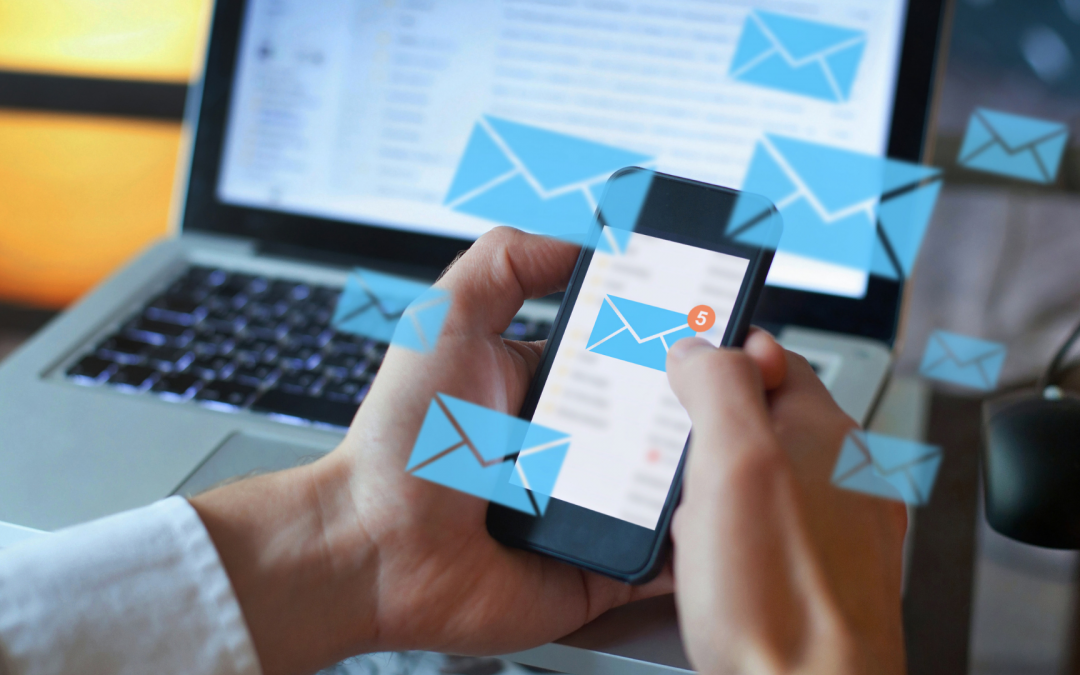
Pro Email Copywriting Tips To Stay Out Of The Spam Folder (And Get More Email Opens)
You don’t have to be a professional copywriter to stay out of the spam folder (although it does help), but there are some things that are particularly important to pay attention to help you stay out of the SPAM folder.
In the previous post we discussed email list hygiene and how your list could be sending you to the spam folder. But, this post is all about you, and I’ll be sharing some of my email copywriting tips that can improve your email open rates and get you in front of your audience.
Don’t want to be in the spam folder? Just ask
It’s becoming common practice to ask your subscribers or customers to ‘whitelist’ you in their inbox to avoid going to the spam folder. You don’t ask, you don’t get! The best places for you to position this are not always your emails themselves, but can be:
- On ‘Thank You’ landing pages after someone has subscribed or signed up
- Messages at checkout
- On social media
You can also use the ‘P.S.’ section of your first couple of emails in your sequence to remind your audience to whitelist you. The message, no matter where you add it, should be clear and simple, something along the lines of:
“Thank you for your purchase/subscribing. An email is on the way to you now so keep an eye out in case it lands in your spam or junk folder. If it does, move it to your inbox and add us to your approved senders list so you don’t miss out on anything!”
And just like that, you’ve asked your audience to do it for you. This also has benefits for your reputation and credibility because the more people that do this, the more reputable you become to their email provider!
Pro Tip: Ask your subscribers to move your emails from the “promotions” tab to the “primary” tab in Gmail so that you know they will be front and center when you send them.

Your subject line matters most
Your email’s subject line alone can mean the difference between an email open and the spam folder. In fact, 69% of email recipients reported an email as spam due to the subject line alone. So, with a lot riding on your subject line, how can you stack the odds in your favor?
Avoid spam trigger words
Certain words in your copy or subject line may make it more likely your email will be flagged as spam. This happens because these trigger words are used most often in phishing or spam emails so filters automatically classify you along with them.
Some examples of these include:
- For free
- Get paid
- Amazing offer
- Save now
- Limited time only
- Work from home
- Nigerian prince has money for you
Also, even if you don’t use trigger words, incorrect punctuation and capitalization makes you look unprofessional and suspicious. A subject line that looks like this: “TH1S iS n0t sPaM!” won’t increase the chances of your email being opened.
Pro Tip: Here’s a more comprehensive list of spam trigger words for you to look at. Just be aware that this list is constantly evolving so make sure you stay up to date if you see a dip in rates.
Using emojis can help (sometimes)
You would think that using emojis would be a spam trigger, but it’s actually the opposite. Many companies have A/B tested emojis versus no emojis in their email marketing and found that emojis came out on top with their audiences.
Emojis, when used sparingly, can make your email stand out in the inbox, easily convey emotions, and draw the attention of the person reading.
")
Pro Caveat: Emoji success heavily depends on your audience, as well as your own branding. Is it in keeping with your brand voice to use an emoji? Will your audience understand, or even appreciate them? The answer to both of these questions needs to be yes for it to work as a strategy for you.
Clickbait is dead
By now pretty much everyone should know what clickbait is, where you have an enticing subject line but the email content does not deliver. The long and the short of this is, don’t do it. Clickbait loses the trust of your audience, and the point of your email and nurture sequences is to build trust not break it! Plus, audiences are starting to become desensitized to clickbait which means it’s not going to be effective anyway!
Poor spelling and grammar can make you look like a bot
Automated bots, hackers, they all have one thing in common. Their spelling, grammar, and formatting is a dead giveaway. The problem with this is, the more mistakes and wonky your email is, the more likely you’ll be labeled a spammer or be hit with complaint reports as well.
So, if you’re not a natural writer and often make mistakes, use an email builder that allows you to format your emails properly and create templates to save time and effort in the future.
Pro Tip: Use a tool like Grammarly which can help with spelling and grammar across a variety of platforms and even offers suggestions to improve your writing and tone if it’s not your forte.
")
Test and compare what works best for your audience
While I can give you a lot of email copywriting tips, and make this a much longer blog post, the truth is, you also have to figure out what works best specifically for your business and your audience. That’s where A/B testing comes in.
Normally this involves having different subject lines to improve open rates, or different layouts and content in the body of the email to see which one makes more sales. It’s then a matter of tweaking what works, and what doesn’t, to get the best results.
Email copywriting really is an art form and takes practice, patience, and often a lot of testing, particularly when it comes to email opens and staying out of the spam folder, but hopefully, this post has given you an excellent place to start.
If you need email copywriting tips specifically for your business or help optimizing your email campaigns, drop me a message and see how we can work together. As a MailChimp Expert and Klaviyo Master with over 8 years of experience and countless happy clients, this is what I do!
Ready to get started?

David Sandel, Founder
Low Gravity Solutions
LGS provides full-service automated digital marketing for seven-figure businesses, including strategy, technology management, copy, and design. Your passion is your business. Ours is marketing and automation.